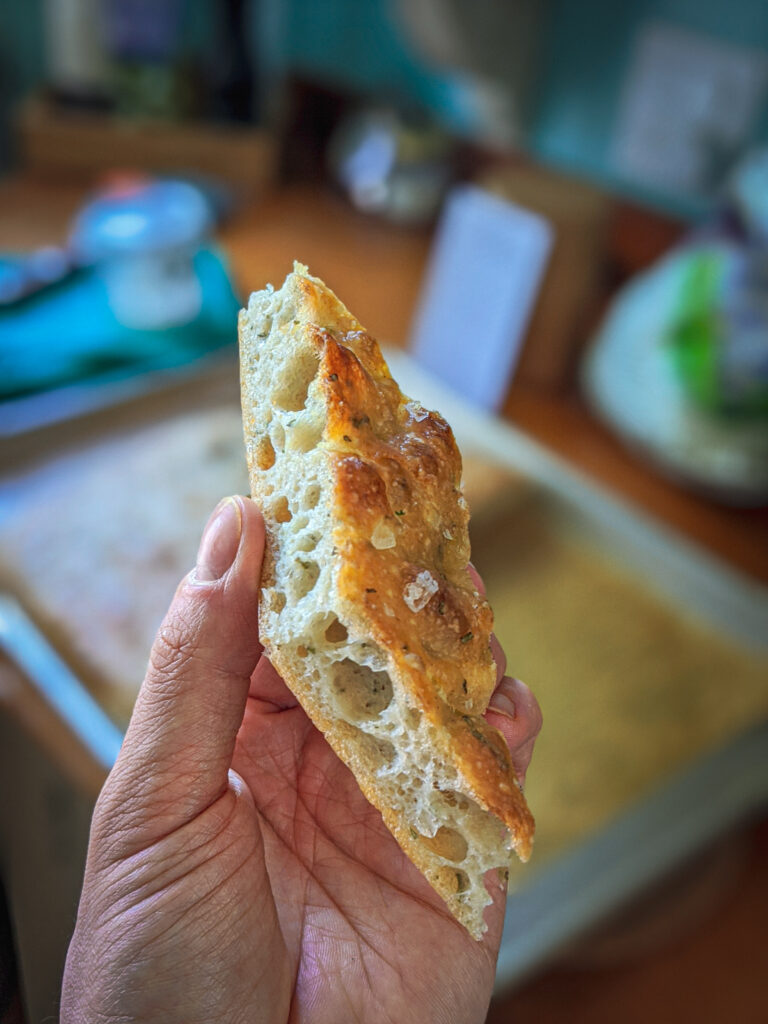
Easy No Knead Bread
Ingredients:
- 3 ½ C. (525g) Bread flour
- 2 tsp (12g) salt
- 2 ¼ tsp (7g) active dry yeast
- 2 ⅔ C. (395g) warm water, ~80 deg.
- Flour for dusting
- Olive oil for oiling the pan and loaf
Equipment:
- Large mixing bowl
- Plastic wrap
- Bread loaf pan
- Aluminum foil
- Cooling rack
Directions:
- In a large mixing bowl combine your flour, salt and yeast and stir until even distributed. Add the water and mix until there are no more dry pockets of flour. Cover your bowl with plastic wrap and set aside for 3hrs to roughly double in volume.
- After 3hrs place the dough in the fridge anywhere from 1-7 days. Longer = more flavor
- After a minimum of 24hrs in the fridge take your dough out of the refrigerator and set aside. Grease your bread pan with olive oil and set aside. Dust your work surface with flour. Turn out your down onto the dusted work surface and gently stretch it until it is roughly a 12-15in circle. Grab the left side of your dough and fold it to the right overlapping the rest of your dough by about two-thirds. Do the same with the right side, folding to overlap the rest of the dough (it’s just like folding a letter). Grab the end of the dough closest to you and gently fold it over itself, then begin to roll it away from you just like a burrito. The farthest end of the dough will create a “seam”. Transfer the dough to your prepared bread pan, seam side down and brush the top with olive oil. Cover your pan with foil, giving at least a 2in space for the dough to rise while keeping the sides tightly sealed and set aside for 4hrs for the final proof.
- Preheat the oven to 475F. Transfer your covered bread pan to the preheated oven and bake, covered, for 20-minutes. After 20-minutes remove the foil and bake for an additional 20-minutes or until the top is golden brown. Remove from the pan and allow to cool on a cooling rack for 1-hr before slicing into it

